Setting
up an email account in Outlook 2016 / Outlook for Office 365
This guide takes you step-by-step through the process of setting up a new email account in Outlook 2016 or Outlook for Office 365.
If the Mail account is already set up, but giving errors – then contact us on 021 914 7755.
Replace example.com with your domain name
- Launch Outlook
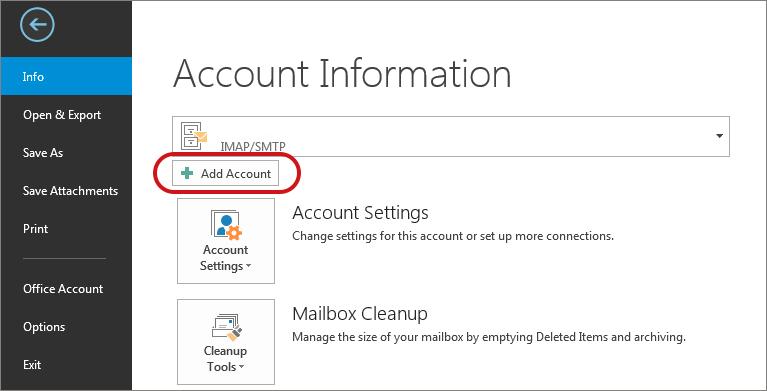
- Select File on the top left menu bar
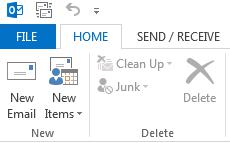
- Select the Add Account button in the middle of the screen, then Account Settings
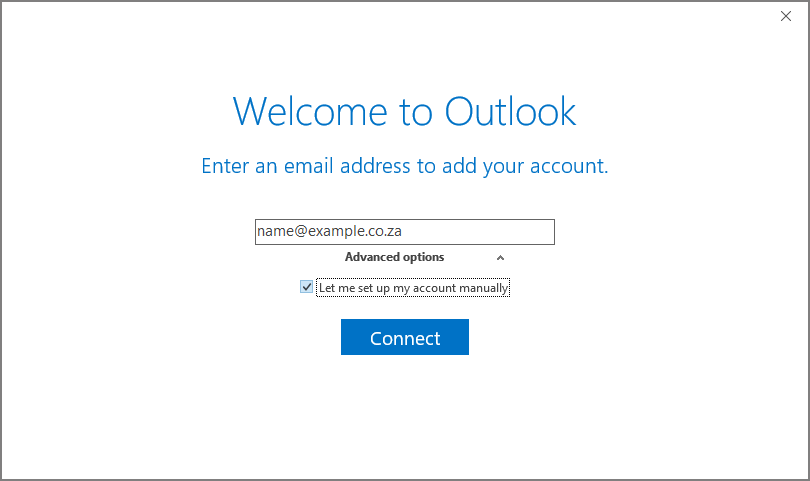
- Insert your email address
- Select Advanced options, then select Let me set up my account manually > Connect
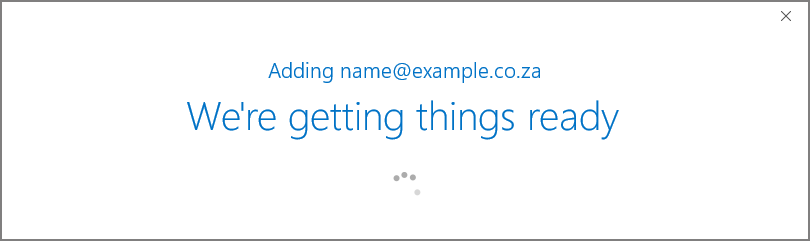
- This temporary screen will display
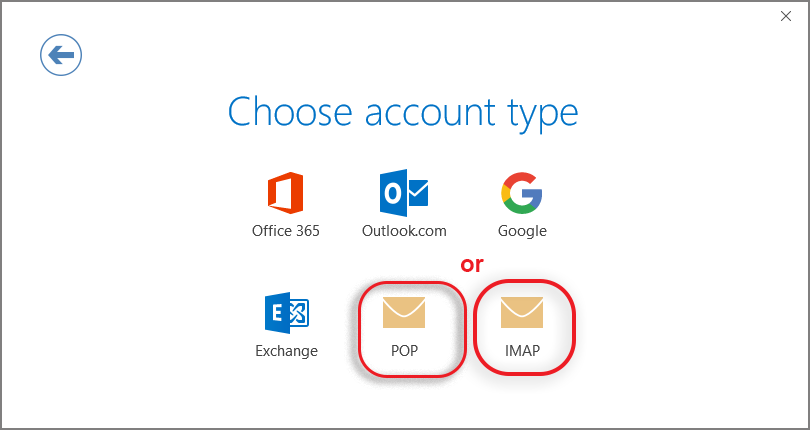
- This screen will display the various account options – select POP or IMAP
- Server Settings: (Note that some versions of Outlook don’t allow you to adjust server settings at this stage. In these cases, complete the account setup and then check your server settings by going to File > Info > Account Settings dropdown > Server Settings).
- Incoming mail: add mail. before your domain name e.g. mail.example.co.za
- Port 143 (or 110 for POP)
- Encryption method: None
- Require logon using Secure Password Authentication (SPA) is unticked
- Outgoing mail: add smtp. before your domain name e.g.smtp.example.co.za
- Change Port to 587 (not 25)
- Encryption method: None
- Require logon using Secure Password Authentication (SPA) is unticked
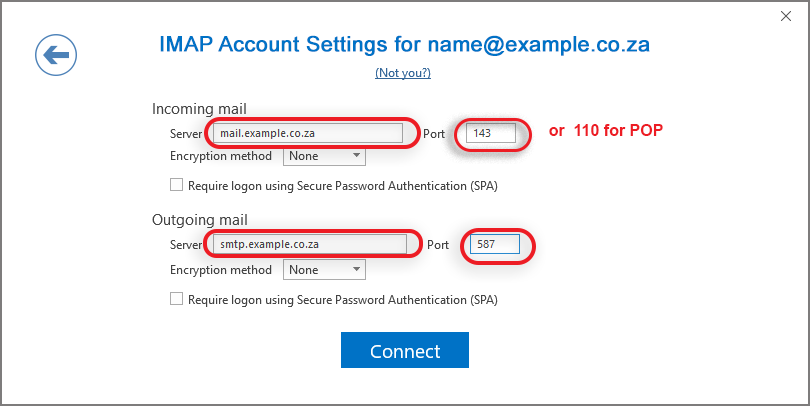
- Click Connect
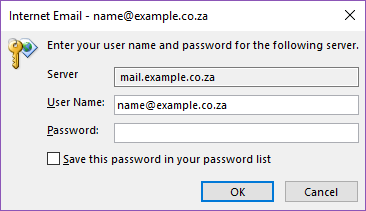
- You will now be prompted for the password
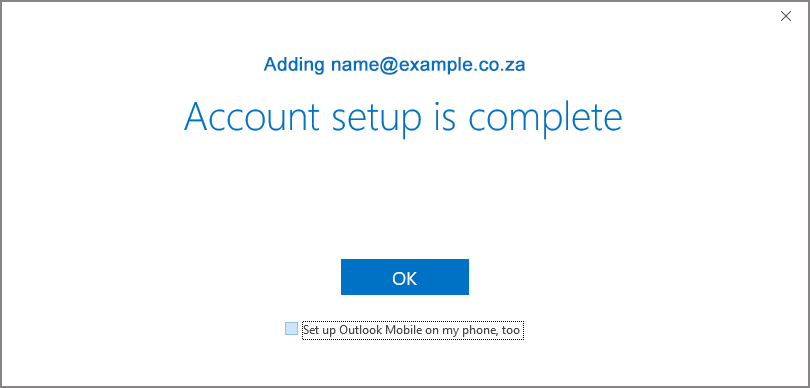
- Your setup is complete!
- Very important: once your account has been set up, you need to go back and change the folder rooting.
To do this, go to Select File on the top left menu bar
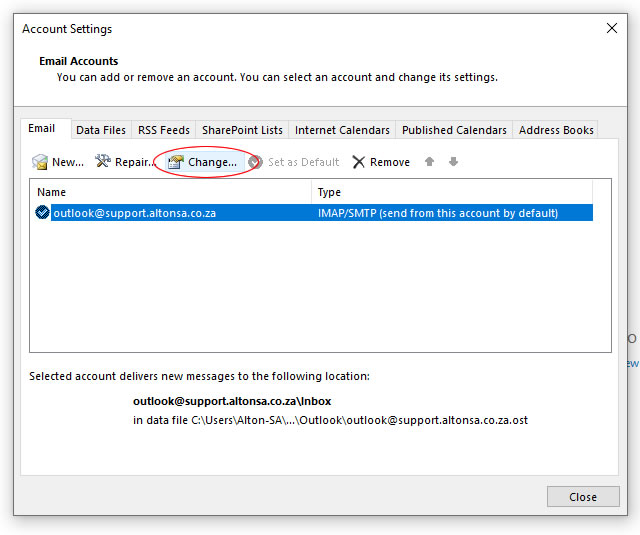
- Select Account Settings, then again Account Settings

- Click on your account, then click on Change
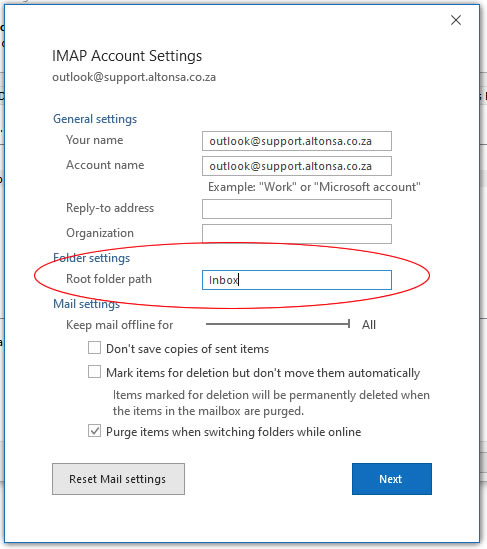
- In the block for Root Folder Path, type in the word Inbox, then click on Next
- Click on Done and Close to finish the update.
- Send a test mail and if there are any errors, please contact us on 021 914 7755.